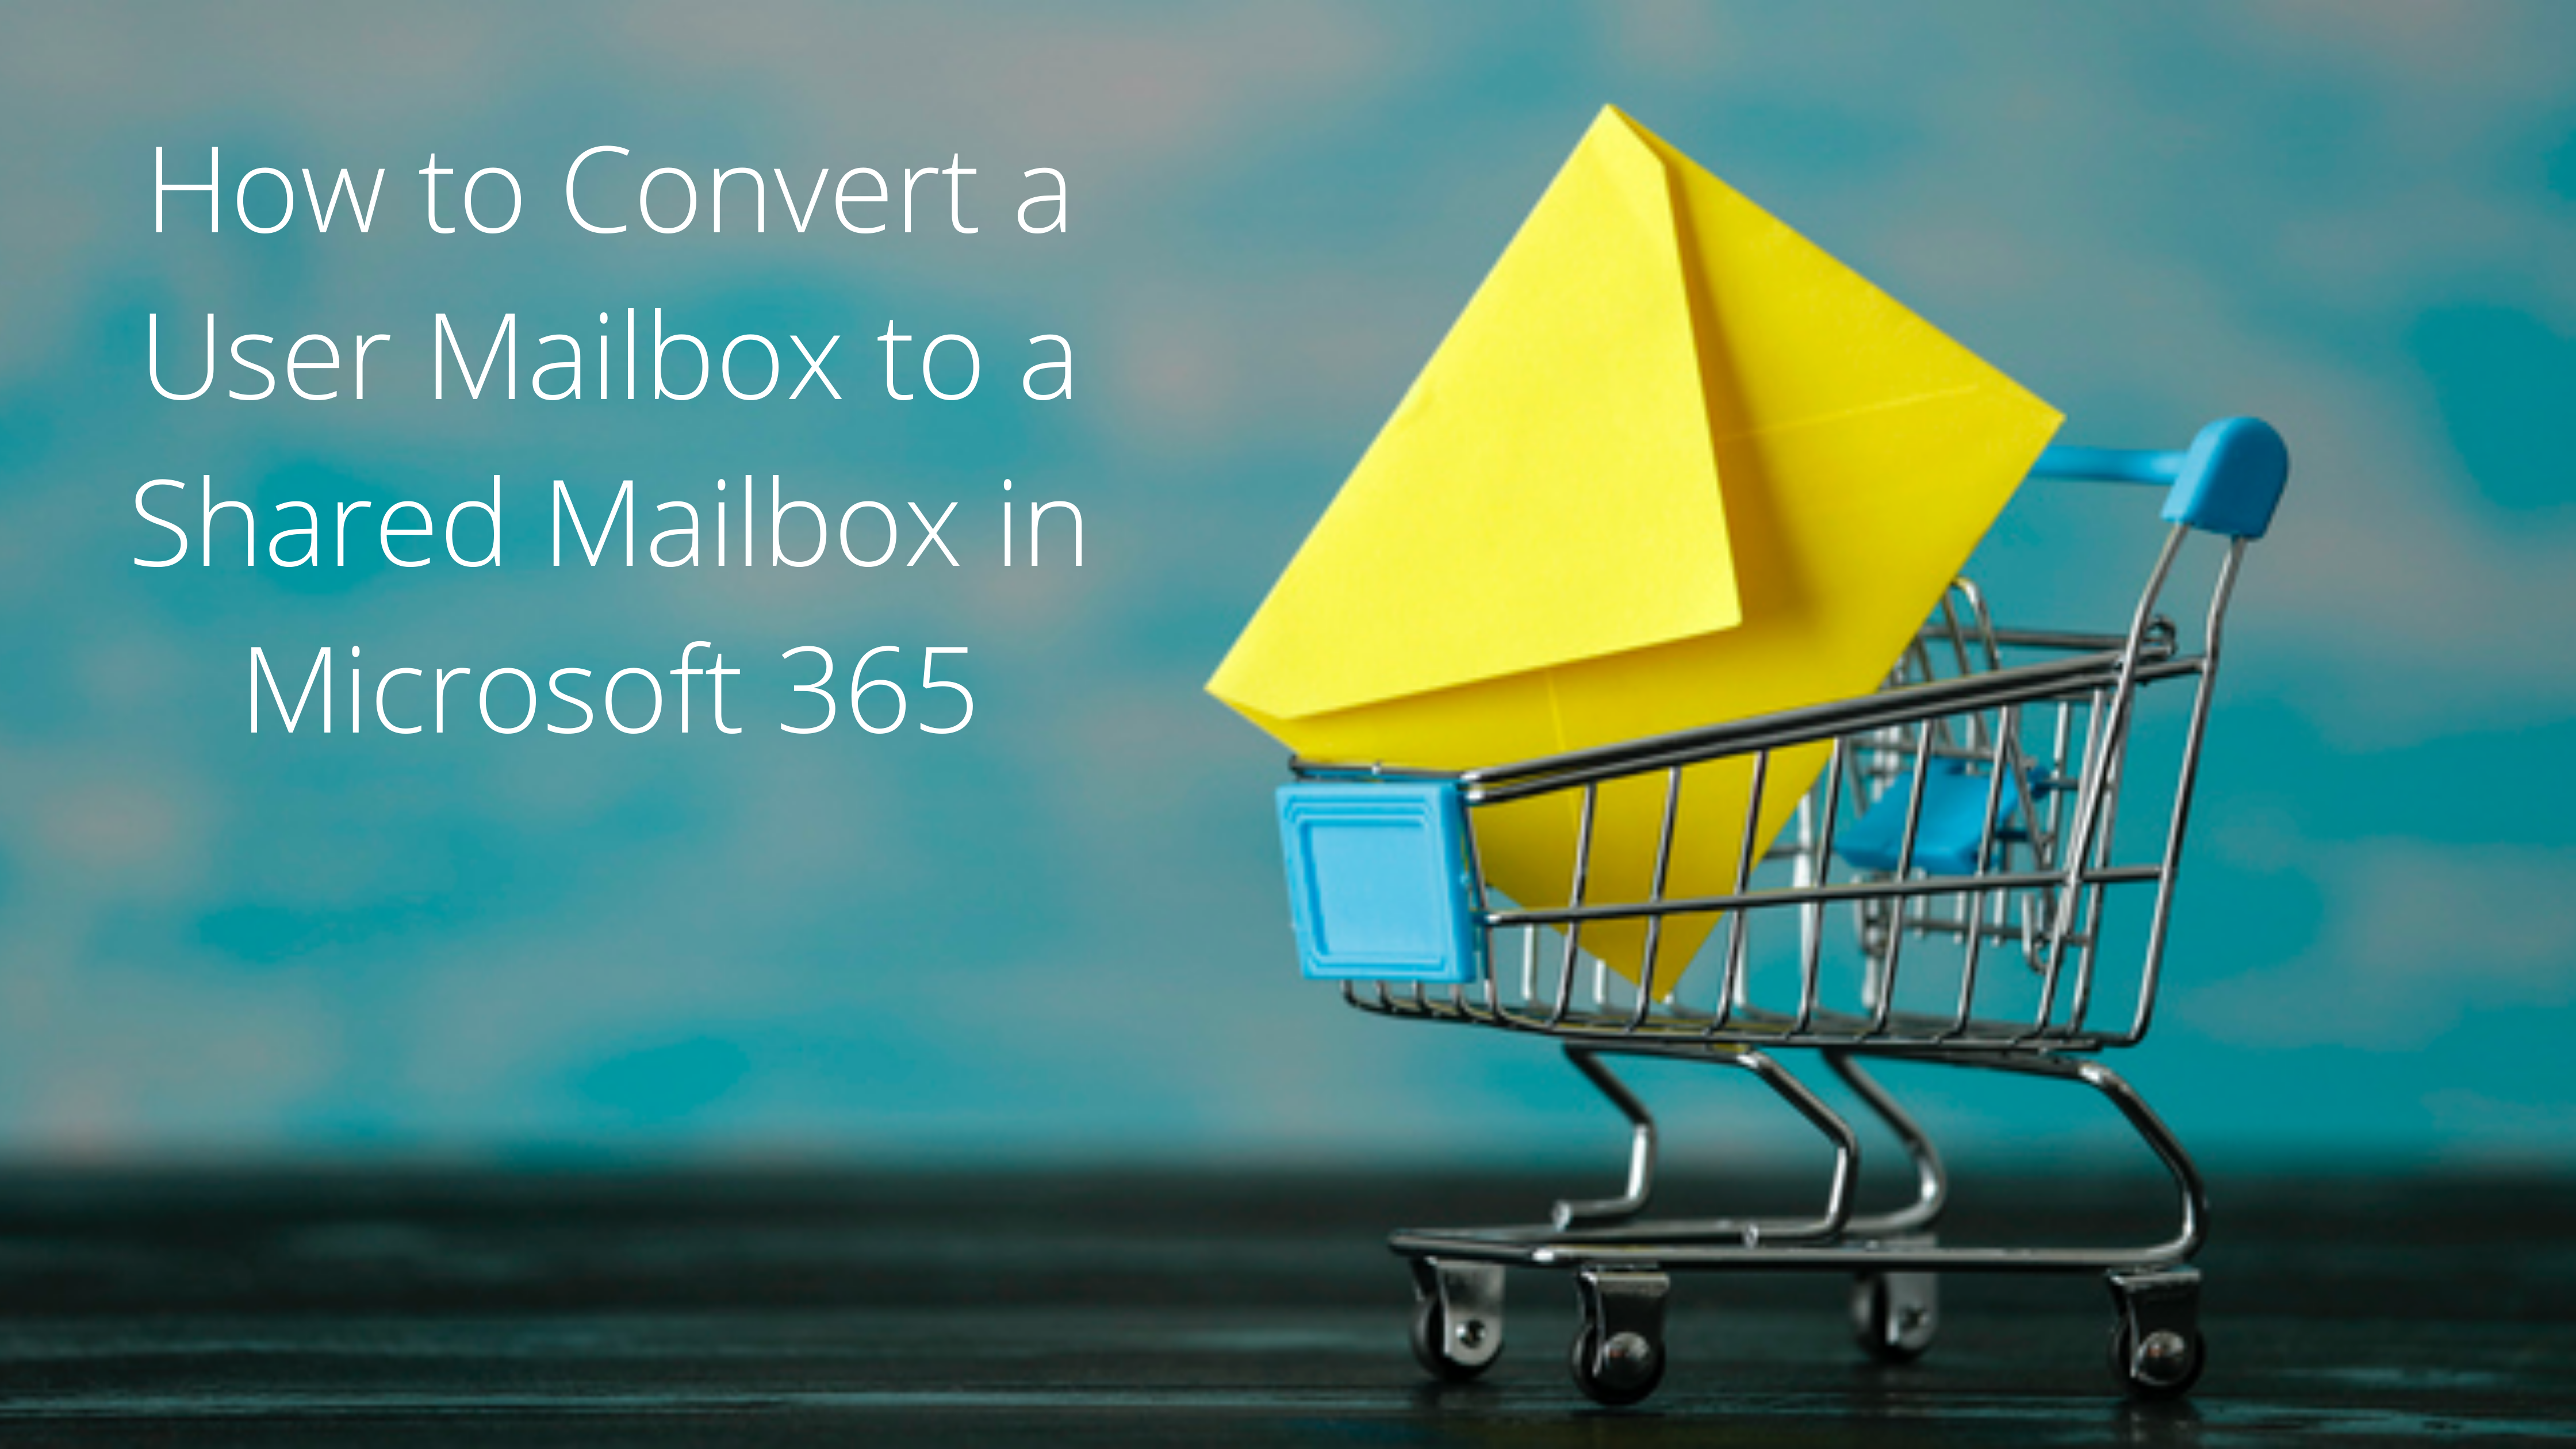
How to Convert a User Mailbox to a Shared Mailbox in Microsoft 365
After converting your regular mailbox to a shared mailbox in Microsoft 365, you retain all your existing calendars and email. The only difference is that it will be visible to several people. You can convert your shared mailbox back to private in the future. It promotes teamwork and convenience.
Some of the most important things to know when converting from user mailbox to shared mailbox include:
- The user mailbox you wish to convert must have a license -assigned to it before you can convert it to a shared mailbox. If it does not, you may not find the option to convert it. If you removed the license, add it back first. You can remove it back later.
- Do not delete your old user’s account as you will need it to anchor your shared mailbox
- With a shared mailbox, you can enjoy up to 500GB of data without a license. If you want more data, you must have a license assigned.
You can convert regular mailbox to shared mailbox by following these steps:
- Find the Admin option after logging in to your Microsoft 365 account
- Find the option ‘Active Users’ under the Admin option
- Choose the user you wish to convert and click on the option ‘Mail Settings’
- Click ‘Convert to shared mailbox.’
- Click ‘Convert’ to finish the process
Using the Exchange Admin Center
- Find the option ‘Exchange Admin Center
- Click on the option ‘Recipients’ and then ‘Mailboxes.’
- Find the user mailbox and select ‘Convert’ under ‘Convert to shared mailbox.’
- If the mailbox is less than 50GB, remove the license from the user. Stop paying for it, but do not delete your user’s account. If you are converting it for a previous employee, check to ensure that they have no other way of logging in.
Converting the Mailbox of Deleted User
If you wish to convert the mailbox of a deleted user, follow these steps to complete the process:
- Restore the deleted account
- Ensure that it has an assigned Microsoft 365 license
- Reset the password and wait for the mailbox to be created again
- Convert it to a shared mailbox and remove the license from the user mailbox
- Start adding members
Converting a Shared Mailbox to a Regular Mailbox
You can convert your shared mailbox back to a regular mailbox by following these steps:
- Login to your account as admin and find the Microsoft 365 Admin Center
- Click ‘Exchange’
- Find the options ‘Recipients’ and then ‘Shared’
- Click on the shared mailbox
- Click ‘Convert’
- Click ‘Convert to regular mailbox.’
- You will receive a warning message asking for confirmation.
- Click ‘Yes’
You must assign a license for the mailbox after conversion. You must also reset the password. The conversion can take a lot of time. When it is done, you will receive a completion message. Click ‘Close.’
After signing into Microsoft 365 again, you will find all the data from your shared mailbox.
In conclusion, Microsoft 365 is great for both regular and shared mailboxes. They all have unique features and benefits. A shared mailbox is an inbox type that allows you and other members of your team to send and receive emails from a similar address. It is a great option for companies that wish to promote teamwork. Since all members can respond to emails in the address, sharing work is easy.
If you wish to switch from user to shared mailbox, you can complete the process in a few simple steps. During the migration process, your data remains secure and integrated.